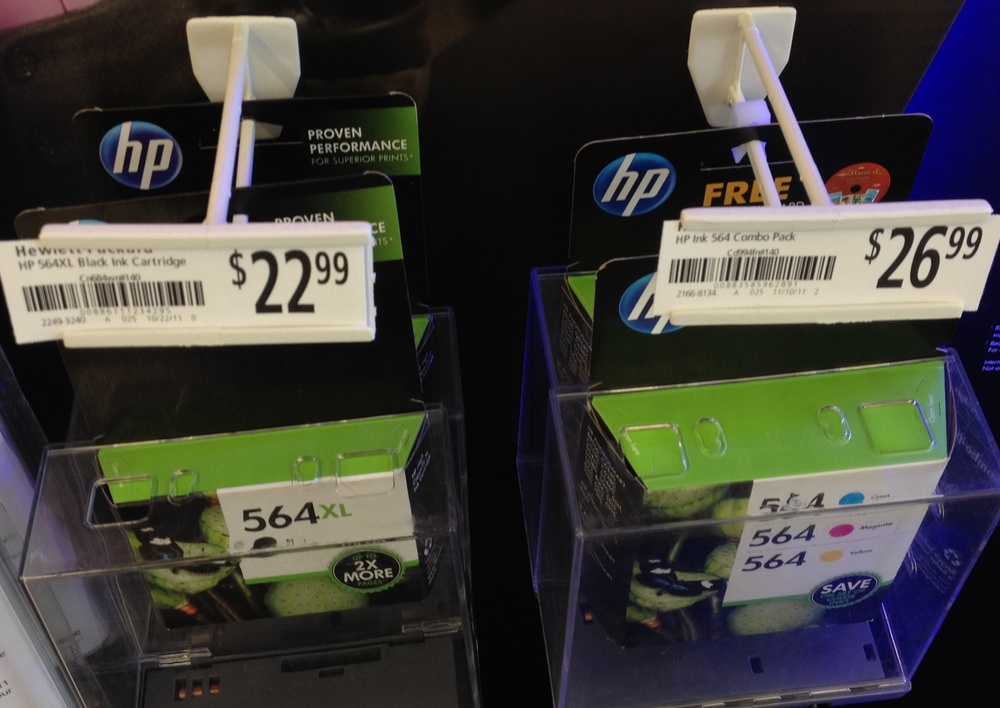
We all hate having to buy new ink cartridges for our inkjet printers. The darn things seem to run out of ink all the time, and it’s tough to buy one color at a time. They’re incredibly expensive as well. Is there any way out of the “razor and razor blade” model? Continuous ink systems can theoretically provide a solution. What if, instead of having a bunch of small ink cartridges, you had external tanks of ink that had more ink than you’d ever need with hoses going to the print-head? That’s exactly a continuous ink system is. I decided to give the kit from Inkproducts.com a go!
I have always been infatuated with the idea of continuous ink systems, but it wasn’t until we had to print wedding invitations a few years ago that we felt really needed one. We could either pay a printer a per-invitation fee or we could use our own printer. I justified the cost of a continuous ink system, $129.99 at the time of purchase, by comparing it against the hundreds of dollars we would have to pay a professional printer. Furthermore, not only was the CIS cheaper, but we also got to keep the system once we were done printing invitations.
Anyhow, that was years ago, and the system worked well, but eventually it ran out of ink, and rather than refill it, I saw that Inkproducts.com had a new version out so I decided to spring for it. Step one in installing a custom ink system is to remove the old cartridges.
That’s where I hit my first snag… I pulled out the block of replacement ink cartridges I was supposed to install, and my hands got full of ink.
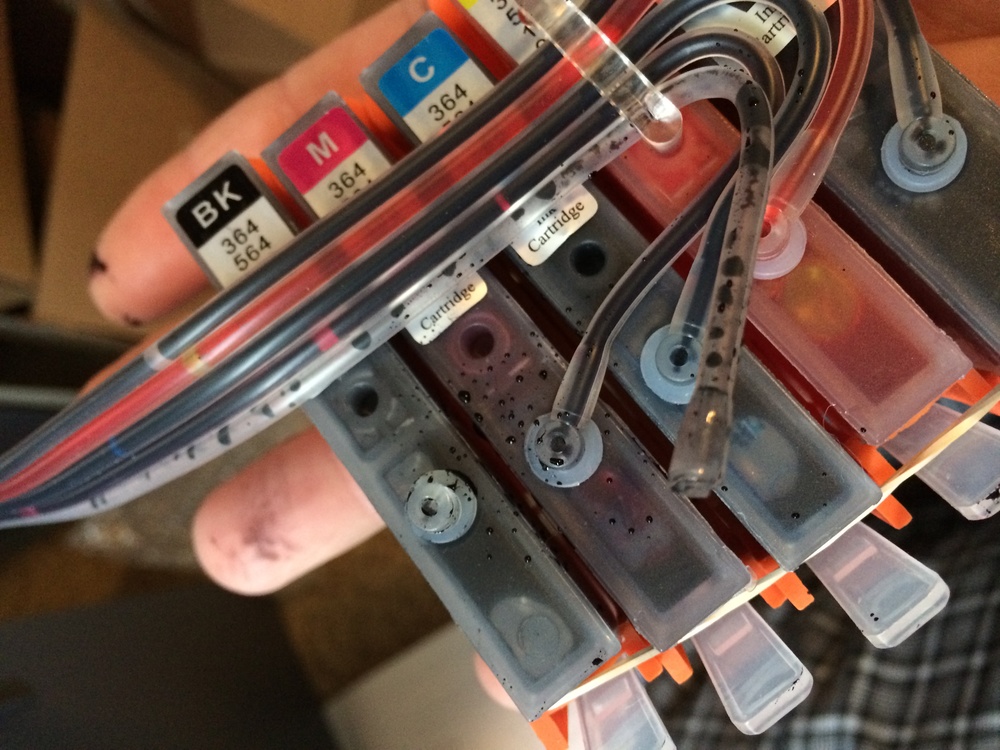
Can you see the detached hose on the left? Bummmmmer… I received a defective unit. I contacted Inkproducts.com. They asked me to send a picture, and as soon as they got the picture, they sent me a brand new unit with a pre-paid label to return the defective unit. That’s pretty solid customer service right there.
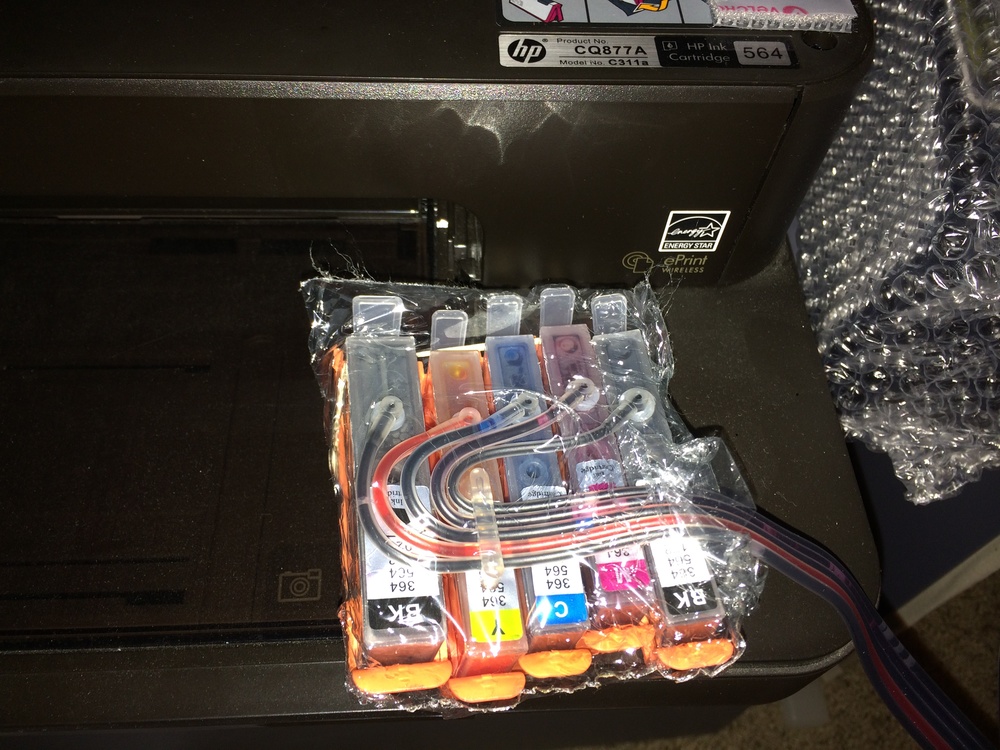
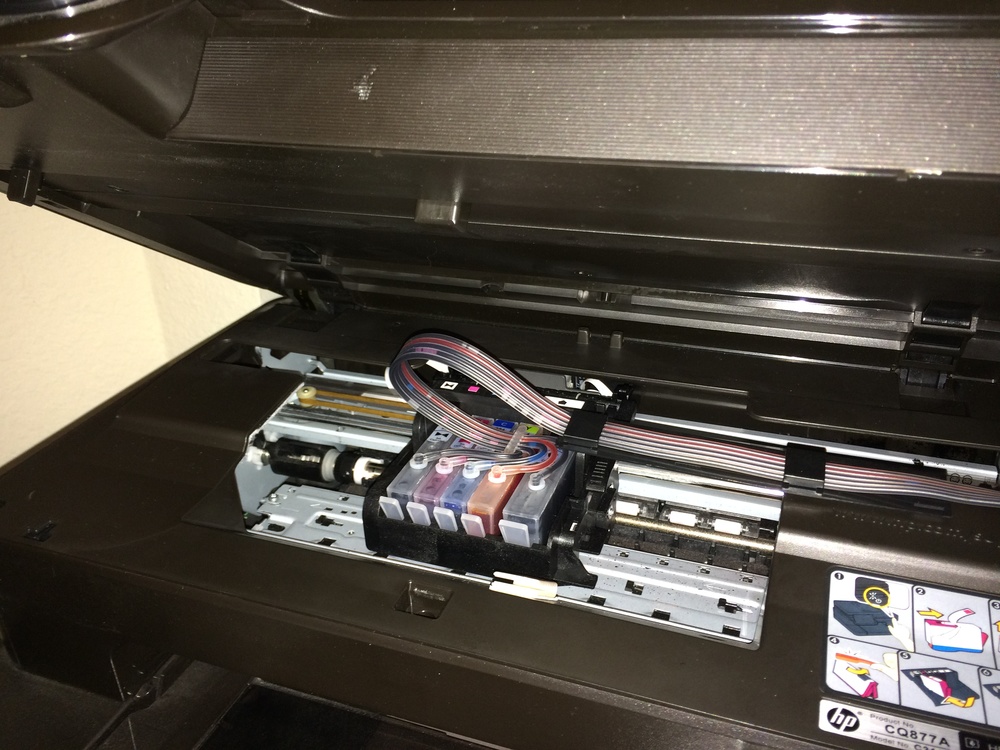
I received my replacement unit promptly, and after a quick visual inspection, the new cartridge unit looked good to go. I installed it into my printer, which is only slightly more complicated than installing a standard set of ink cartridges. As these units are all attached to the same ribbon of hoses. You place them all in the slots in a group, and then you snap them all in individually.
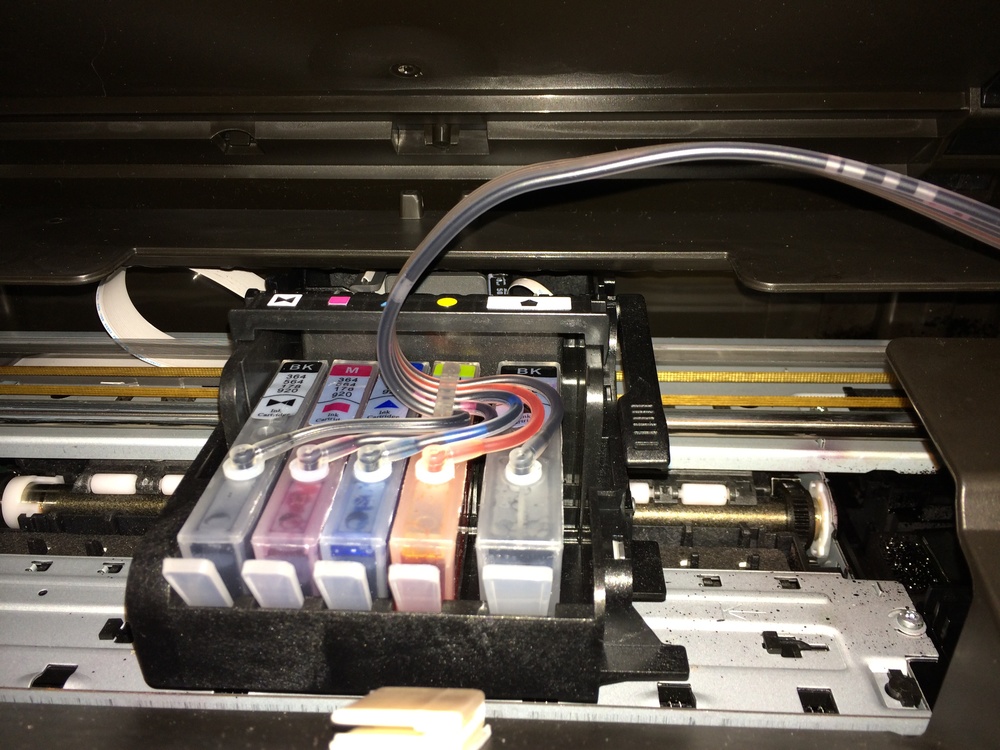
After they’re installed properly, some other pieces are included to guide the hose so there it doesn’t get caught on anything as the print head moves back and forth.
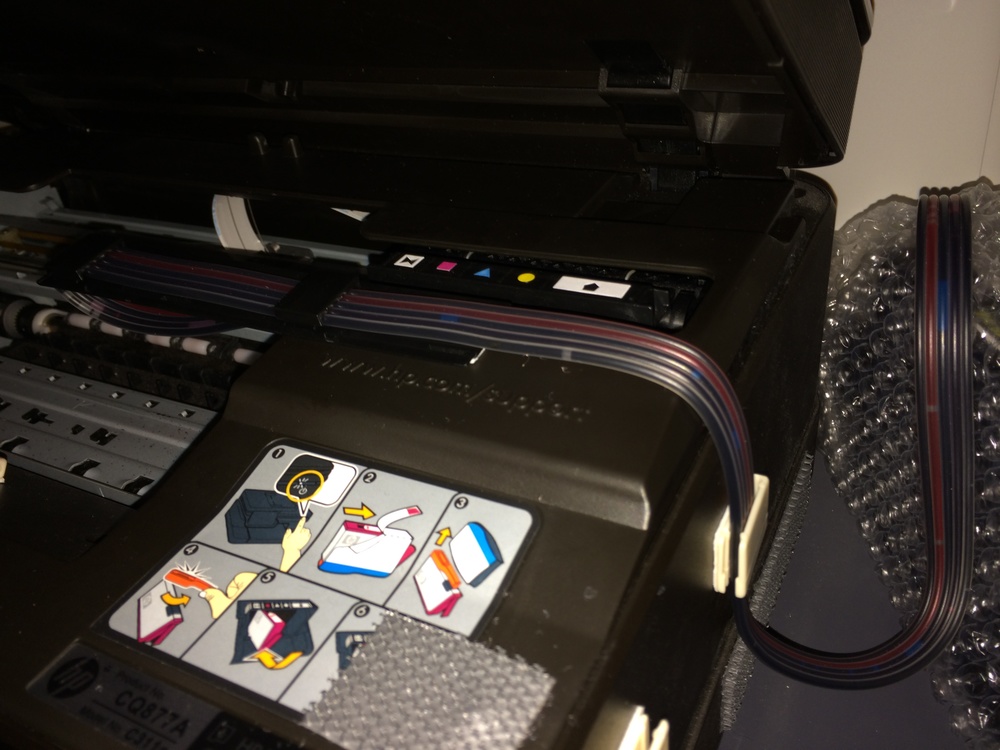
Then there’s the external tank. This kit includes a set of plastic hooks with double sided tape so you can fasten it to the side of the printer. This is a great solution as it keeps the tank secure to the side of the printer, but it’s easy enough to pop it off if you need to move it around to refill the cartridges or do some other maintenance.
Once installed, it was time to give it a go! I followed the instructions to run a print head cleaning and printed out a few test pages. I got an “error” on my printer that Non-HP cartridges were installed. Right… Like I care…
So… how did it work? It worked great at first, but after some time, I noticed that the colors were fading and eventually it seemed that the ink was so faint that it barely showed up. I was frustrated, and I sent a note to the company. They told me to give them a call during business hours. I spoke with a really helpful person who showed me exactly what to check, and in the end, we found the issue, and it was MY fault.
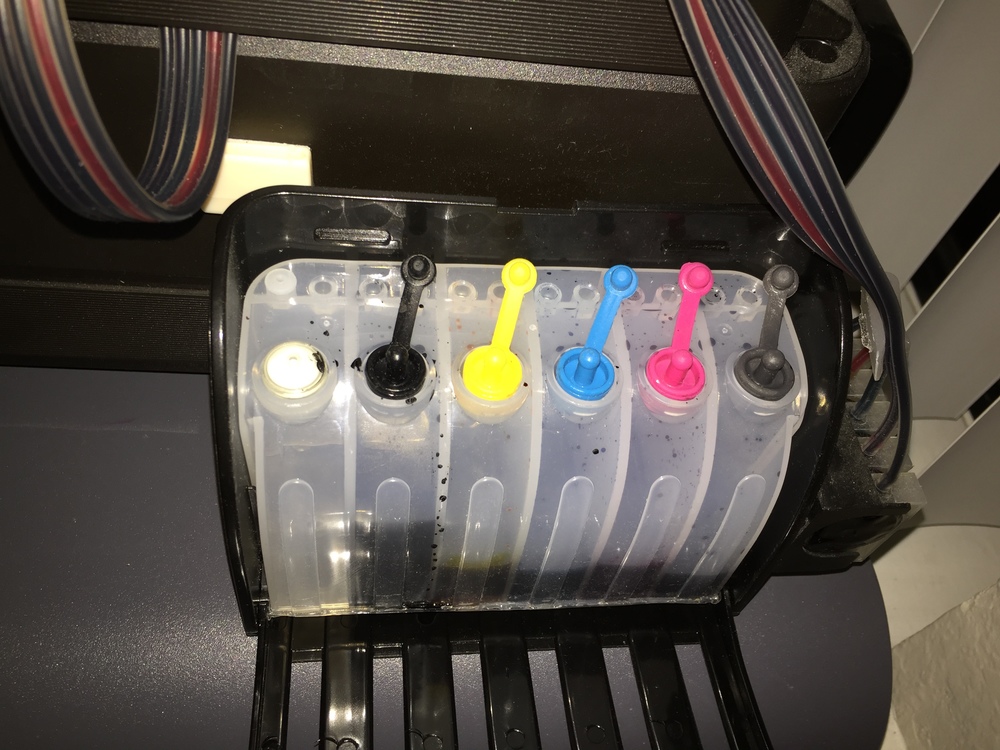
There are some air vents on the top of each ink cartridge, and you need to unplug the stopper at the top of each tank. If you don’t, the airflow will be blocked. If the airflow is blocked, picture someone holding their thumb over a straw and pulling it out of a soft drink. The water stays in the straw, just as my ink was staying in the hoses. As soon as we unplugged the vents, it worked great! Instantly, my pictures were again vibrant.
A few months ago, I had a similar issue, and I must have done something wrong, but I had to re-prime the cartridges, which involves sucking ink via the cartridge through the tubes. It’s really just some suction syringes that you need to do this, and Inkproducts.com sells them. I was able to prime the cartridges, and then all was well again.
Over the past few years, I’ve printed countless shipping labels, photos, and other various documents. The printer works like a champion, and it’s so nice to not have to worry about filling up the cartridges. After a few years of lots of printing, including both my wedding and my brother’s wedding invitations, I’m finally now needing to refill the tanks. I ordered a black ink refill kit, and as you can see in that pic above, I should probably get the color refill kit as well.
I’m really happy with my purchase from Inkproducts.com. One piece of feedback would be to make the instructions slightly more clear. Little things like changing the bullet points to numbers and adding check-boxes so people can check off steps as they go could go a long way.
Do you need to be an engineer to install this? No… not completely… However, I do think the kit is a bit too advanced for a completely non-technical person. If you have a need for this, get your family geek to install it for you.
If you go through a lot of ink cartridges, I recommend picking up a CIS. Not only is it satisfying and convenient to never have to think about ink, it’s also a greener solution. You’re not constantly buying disposable ink cartridges. There are some CIS systems at different places on the internet like Amazon, etc, but I like Inkproducts.com, as they have shown good customer service over the years and a willing to help their customers.
The package from InkProducts comes in a pretty boring brown box, and inside, you’ll find the continuous ink system and a manual.
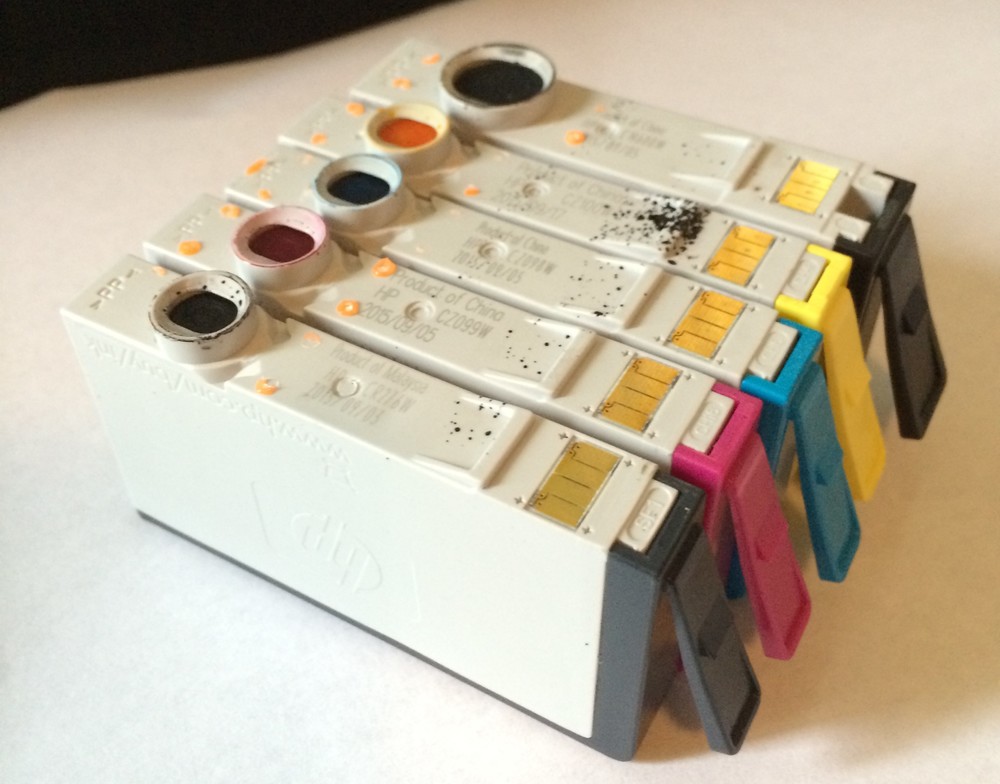
First thing’s first… There is a bit of installation required for this kit! You may be surprised by what needs to be done to get this fully installed and working properly. The manual is definitely necessary. To be honest, I feel like the manual should be a little bit better. I was able to get things figured out easily. But if I were not a techy already, I think I would have a really difficult time. For example, one of the more difficult things that needs to be done with this installation is the removal of microchips off of the authentic HP ink cartridges and putting these chips into a plastic retainer that Ink Products calls the “chip block.” This is actually a pretty ingenious idea. This keeps the printer from telling you that your ink is not authentic. However, the process to do this is a bit complex. You have to use a razorblade (I used a safety pin) to pry these flexible microchips off the ink cartridges. They just referred to these as “chips” and called the place where I was supposed to put the chips the “chip block.” I just think the manual could better describe things, telling people EXACTLY what the “chip block” is, why they need to remove these chips, and how to do it.
In any case, I didn’t find installation that difficult, but if you’re not a technical person, you may find it impossible. I’m just giving fair warning.
d