Breathing New Life into a 2007 iMac with an SSD Upgrade

The 2007 iMac is really a funny machine. On the one hand, it’s a relic. It’s nearly 7 years old, and in computer time, that’s an eternity. So many things have changed since 2007. Yet, at the same time, it has a 2.4ghz Core 2 Duo, which is dual core and 64 bit, plenty powerful for most tasks. It also has a beautiful 20” monitor. The disk situation is a different story. The default model came with a 500GB sata drive, and the DVD superdrive is actually connected via PATA.
When my dad told me that the iMac was running slowly and needed a tune-up of sorts, my initial instinct was, “Dad, this thing is 7 years old. Let’s get you a new one.” However, when I played around with it, I found slow shutdown, slow bootup, slow opening of programs. This told me that the disk was the weakest link in the machine. I told my dad that I would try to replace it with an SSD to see how that would work. I told him that if it worked, it probably would breathe another couple years of life into the computer, and if it didn’t, I could eBay my recent purchase and he wouldn’t be out much cash for the attempt.

I got a great deal on the 480GB Crucial M500 SSD. I also ordered a bracket that would be used to mount the 2.5” SSD in the place of a standard 3.5” hard drive.

Screenless iMac
Screenless iMac

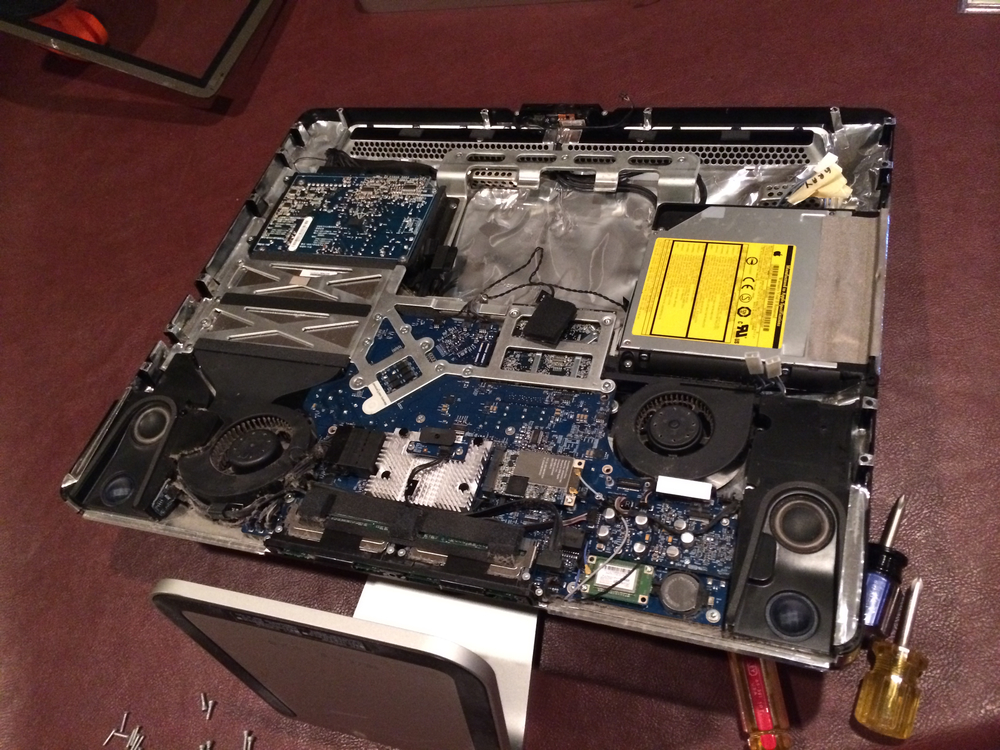
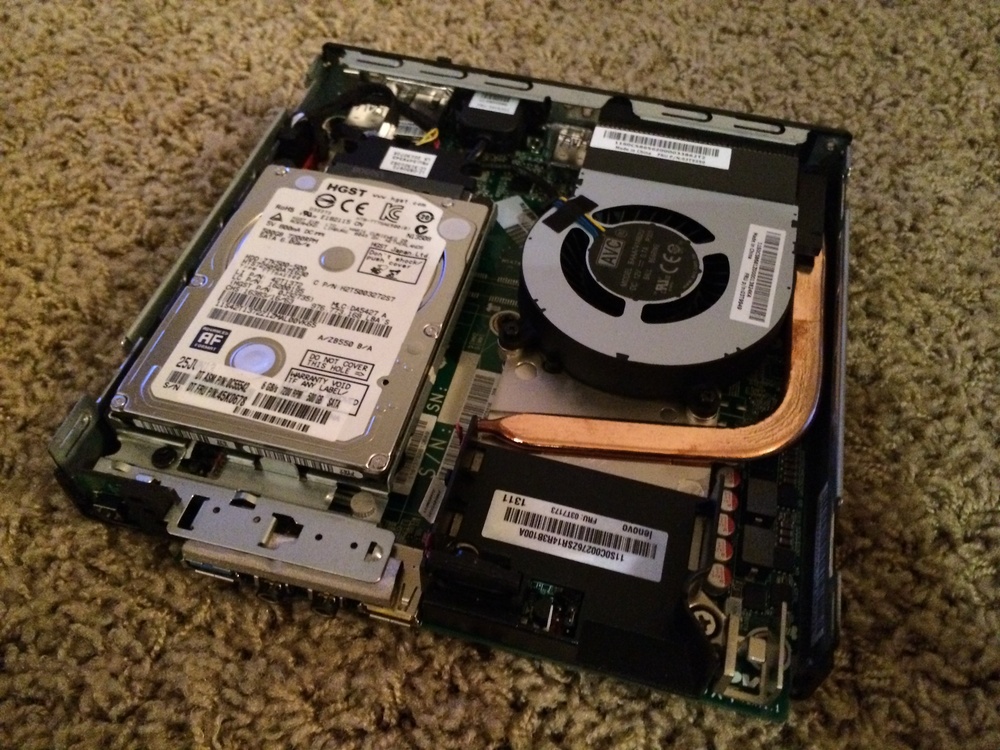
If you have ever taken apart an iMac, you know that it is a bit daunting. Unlike unscrewing a standard computer case, you have to use a suction cup to ply the screen off. Once you ply the screen off, you then use a torx screwedriver to get the rest of the thing apart. It can be quite stressful if you haven’t taken apart a bunch of electronics before. I finally got the thing pulled apart, though, and then I was able to remove the hard drive.

The good news was that the 2.5” drive fit inside of the 3.5” bracket perfectly, making it an easy replacement mount.

ssd-1
ssd-1
ssd-2
ssd-2

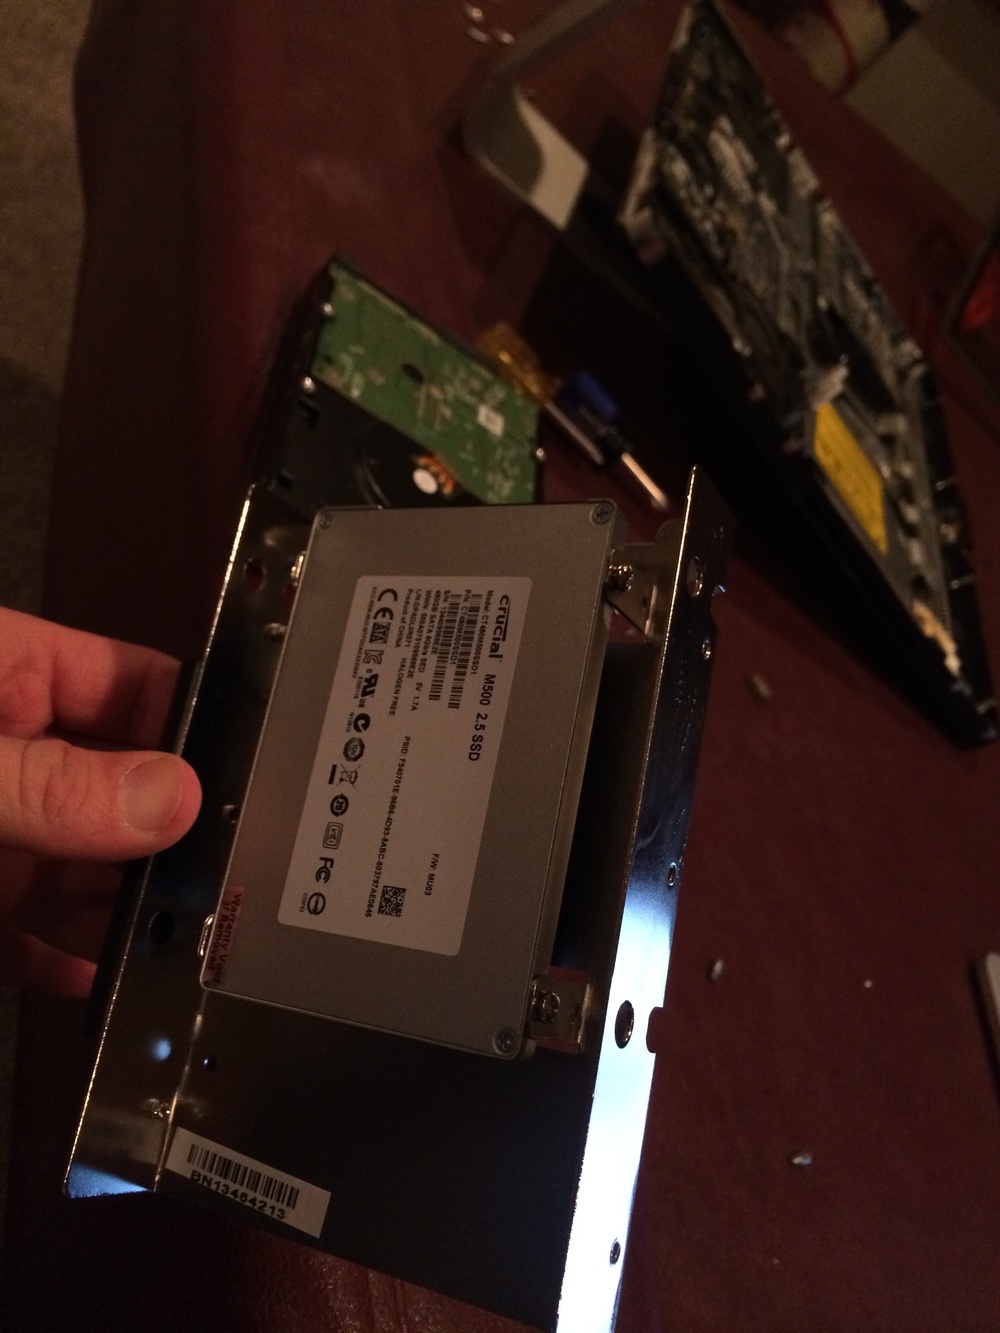
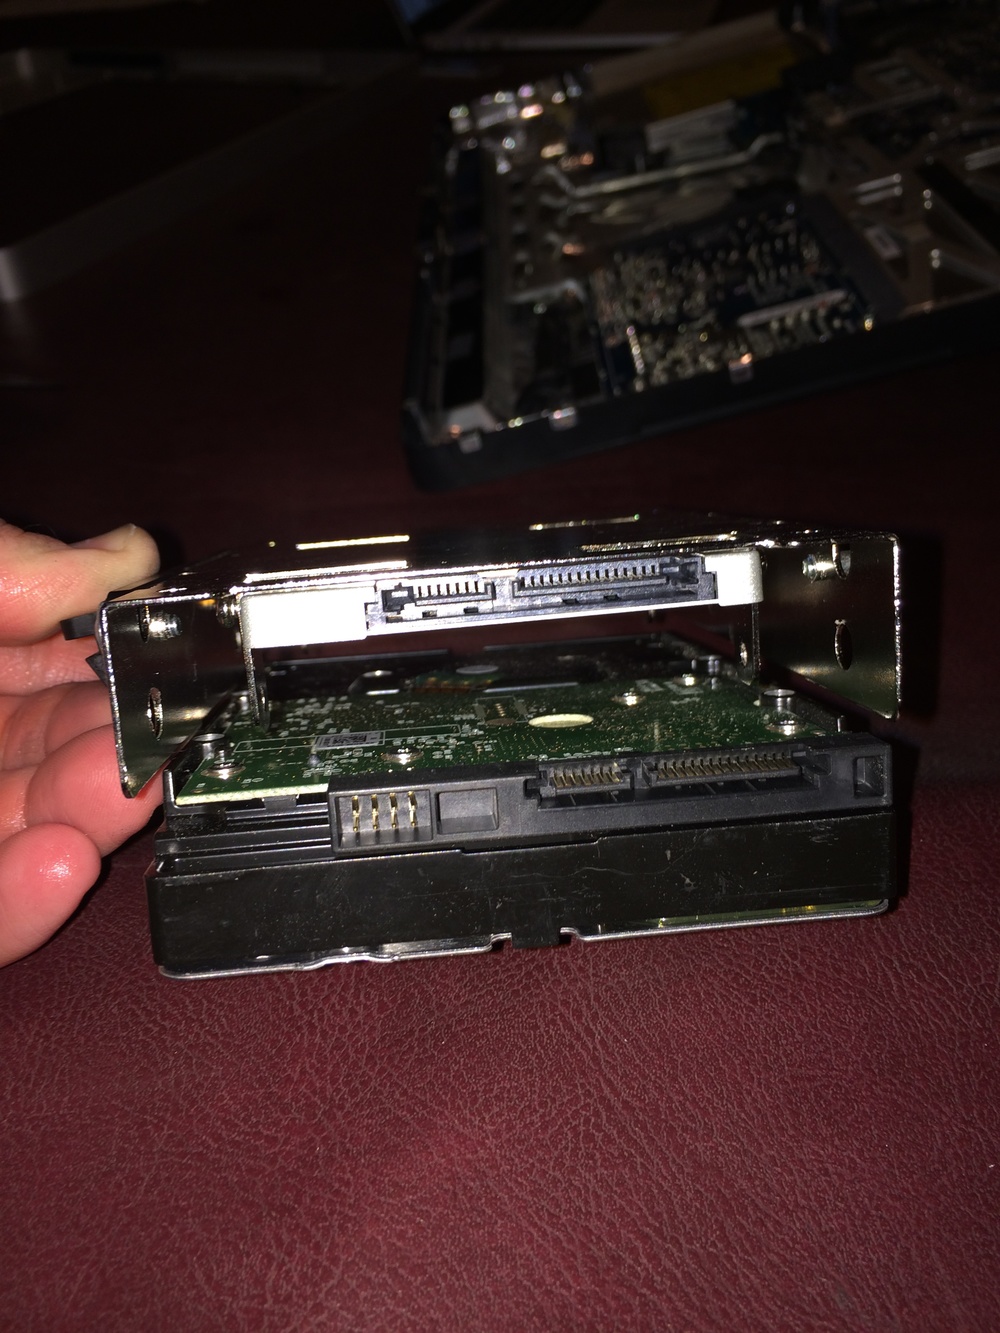
There was one piece of bad news… Take a look at the above picture. While it may appear to be a perfect match, it turns out that the SATA cable in the iMac extends JUST far enough to plug in a standard hard drive, which has the connector lined up completely on the right. My bracket places the SSD right in the center, which moves the connector over a half an inch or so. After trying to stretch the cable carefully to new avail, I resorted to another solution.

ssd-fixed
ssd-fixed

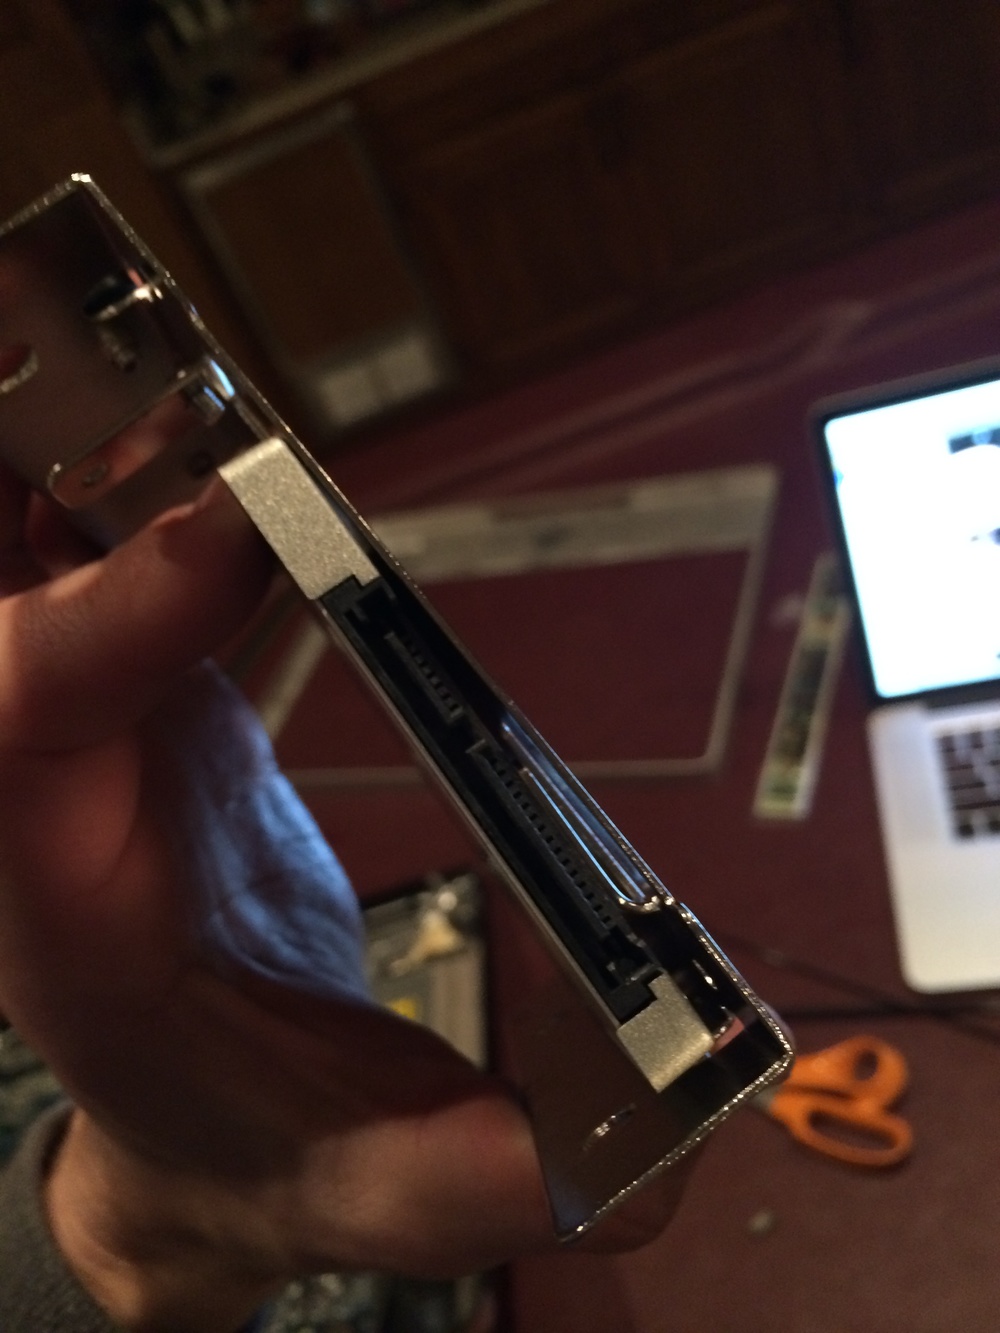
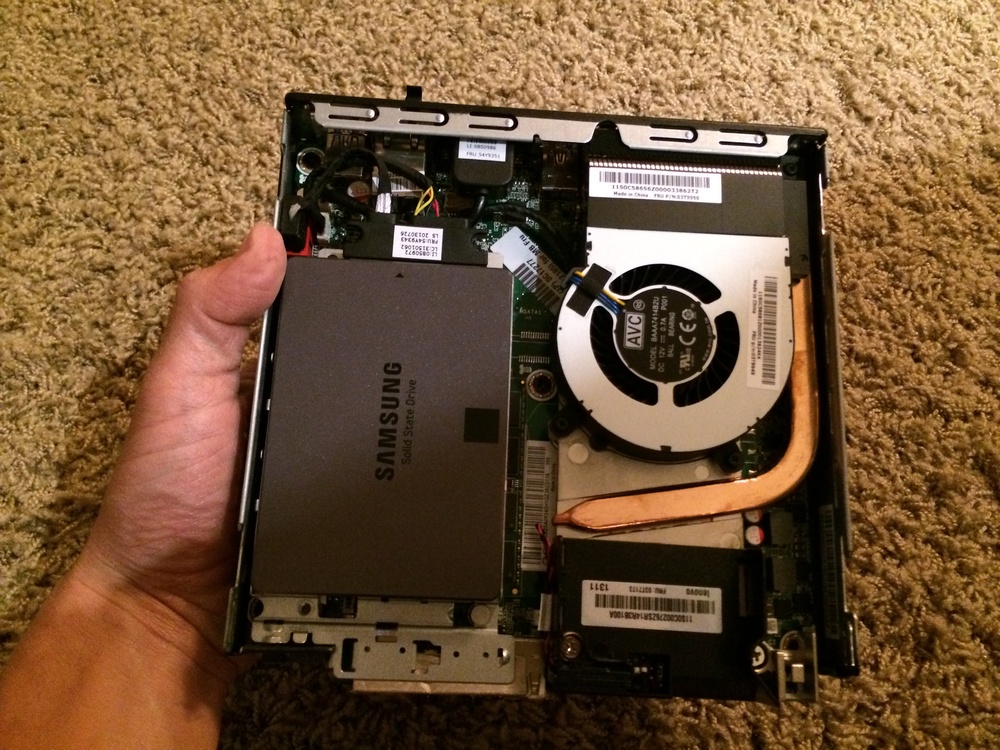
I bent one of the pieces of metal that holds the SSD to the bracket and slid the SSD all the way to the right of the bracket. From there, I used the world’s most convenient adhesive, duct tape, to make sure that the SSD was completely secured to the bracket. It worked! As I started rebuilding the machine, though, I couldn’t help think that Steve Jobs wouldn’t exactly have been proud of my solution, as a man who always insisted that the components on the inside be just as beautiful as those on the outside.

Every time I take apart an iMac, I’m always a bit nervous the first time I try to turn it on after reassembling it. I had it all put back together, I pressed the power button, and boom – I got that nice Mac ding, and from there, I used an external drive adaptor to copy the contents of the existing drive to the new SSD.

Once the transfer was done, it felt like a brand new computer. Everything was ultra snappy. Being 7 years old, it of course doesn’t have the most powerful GPU in there so you wouldn’t have to do too much graphically to bring this computer to its knees, but for my parents’ iPhoto / web browsing needs, this machine is perfect. It still runs OS X Mavericks, and thus, it’s not really limited in any way.

In fact, I still have one last upgrade left for this Mac. While it only officially supports 4GB of RAM, it can actually capacitate 6GB. I’ll soon order a 4GB module from OWC, and the machine will get a 50% boost in RAM.

This upgrade experience made me realize what great value there is left in these older iMacs. You can pick them up pretty cheap on eBay, and if you don’t mind swapping out the hard disk for an SSD and upgrading the RAM, you can have a VERY fast family web browsing machine on the cheap. Consider that Apple STILL sells machines with only 4GB of RAM. My hope is that this machine will actually be able to run the NEXT version of OS X, Syrah, as well. I feel like the only reason it wouldn’t be able to is if Apple were to put a GPU requirement on the new version, as the rest of the specs stack up decently with modern computers that Apple sells.

How To: Set up Time Machine for Multiple Macs on FreeNAS (9.2.1.3)

FreeNAS is awesome. Also, FreeNAS is hard… I recently switched from a Synology device, and while I am already appreciating the increase in functionality and power, it’s certainly not as easy to do some basic tasks. One of those tasks is setting up a Time Machine share where all of my household Macs can back up. Between reading the tutorials and giving some trial and error myself, I think I have come up with a good solution.
And before I get started with the step by step guide, let me reiterate one thing: Permissions, Permissions, Permissions! If you ever find yourself banging your head against a wall because something in FreeNAS isn’t working as you expect it to, the likely culprit is permissions. Once you wrap your brain around them, though, things become more simple. Hopefully this guide helps put a foundation around that.

The Default FreeNAS Home Screen

Read more

Using Lenovo’s M93P Tiny as a Plex Media Server

Are you familiar with Plex Media Server? If not, you should be… it’s awesome. Well, it’s awesome assuming that you either take the time to rip all of your media (me!) or you’re okay with pirating content from the internet. Once you get all of your movies, TV shows, music, pictures, etc, nicely organized, Plex Media Server is a tool to stream that content to a variety of devices, whether it’s the family TV in the house or an iPhone on the go. It has the ability to transcode media on the fly, adaptively taking a 1080p blu ray rip and streaming it at a lower resolution / bit-rate to your phone on the other side of the country. It can process multiple streams at once, assuming your hardware is capable of handling it. Plex makes clients for iOS, Mac, PC, Android, etc.
I bought a Synology network attached storage device some while back, and I started experimenting with running Plex on the NAS itself, but the NAS doesn’t have the CPU power to do any sort of intense real-time transcoding. I decided to build a small server to handle all of my Plex needs. I wanted the server to be small, I wanted the server to be silent, and I wanted it to be powerful. I spent some time putting together some potential custom mini-itx builds, but in the end, I couldn’t quite find the right combination of components that would be small and light enough and still powerful. None of the cases out there would fit just right in my small apartment. I somehow stumbled upon the Lenovo M93P Tiny. This is a pre-bulit machine, and it’s quite compact. It has room inside for a 2.5” drive and runs Intel’s most recent Haswell chips. The version I sprung for had an i5 4570T. I could have opted for an i7 CPU, but I thought that might be overkill for my needs.

... and I have a small hand!

m93p-front-face

The M93P Tiny doesn’t appear to use a standard motherboard / power supply, but that’s part of the reason it’s so small. And while it doesn’t use a standard mainboard, the components are still easily accessed and swapped. Rather than paying Lenovo to upgrade the internals, I purchased a Samsung 840 EVO SSD and 16GB of RAM. I chose that particular SSD because at the time of purchase, it was widely considered to be one of the fastest SSDs out there. As my media resides on a separate network attached storage unit, there’s no need for much storage space on my actual server. I just need an SSD for the operating system and any applications I add.

m93p-open

Opening up the M93P Tiny is quite easy, and thankfully once, open, all of the components can be easily accessed and removed.

m93p-tiny-swapped

Swapping the hard drive for an SSD and upgrading the RAM was easy. As much as I love the M93P Tiny hardware, I was annoyed that it didn’t include a manual. I had to go online to download the manual in order to learn all of the BIOS commands. I was also annoyed that it didn’t include a Windows 8 CD. I wasn’t planning on running Windows. I was going to run OpenSUSE on it, but I still technically paid for Windows 8. I need to follow up with Lenovo and see why a copy was not included.

system-on-floor

After I swapped out the components, the unit booted up without issue. I created an OpenSUSE USB installer, and I installed the operating system from there. I plugged the system into my HDMI port on my TV, and I installed everything that way. This was just a temporary solution as once the operating system was installed, I planned on administering the system via SSH and VNC, rather than with an actual dedicated screen, keyboard, and mouse. This will be a headless server.

os-install

If you’re looking to build your own Plex Media Server, I really recommend taking a look at the Lenovo M93P Tiny. It won’t be cheaper than a DIY build, but there’s a good chance that it will be smaller, quieter, and more powerful. I’ll create future blog posts about how I configured this tiny machine to be my perfect little Plex Media Center.

An Awful Experience with TEP Wireless

UPDATE: I have given TEP Wireless another try, and it worked just fine for me the second time around. Please see my new post here. I am leaving my original post intact, though, as it is an accurate telling of my previous experience.
I’m not sure how long this post will be, but I’ll just start writing about the whole experience. My apologies in advance if it turns into a bit of a rant, but case it does, let me give you the conclusion up front. DO NOT RENT A WIRELESS HOTSPOT FROM TEP WIRELESS! With that out of the way, let’s continue. Read more

Experiment: Switching from Generations of iPhones to the Nokia Lumia 920

I love Apple products, but mostly, I love technology. I love playing with new gadgets and staying on the bleeding edge of what is new and fresh. I have had every iPhone since the original, and I currently own the 4S. My wife has the iPhone 5. If this were any other year, I’d just go and buy an iPhone 5. But while the iPhone 5 is by far the best iPhone of all time, it’s also the one that has me least excited to upgrade.
I already have iOS6 on my phone, and after using my wife’s phone pretty frequently, I can say that the extra bit of vertical resolution doesn’t make much of a difference in day to day usage. I don’t care that it’s even thinner. The iPhone 4S is thin enough for me. I do need LTE, though.

Oh another thing – I hate Android. It is the least elegant operating system out there. I can’t believe that I have a quad core CPU on my Nexus 7, and I still can’t get perfectly scrolling menus like I can on my iPhone 4S. Every time I use an Android device, I never feel like it’s fully utilizing the hardware, and the software is always a bit sluggish.

Windows Phone 8, on the other hand, is really intriguing to me. It’s exciting. It’s new. It’s fresh. And the Nokia Lumia 920 looks like an excellent rendition of that platform. I’ve placed a pre-order, and my experiment is to see what it’s like to switch from a 64GB iPhone 4S to a 32GB Nokia Lumia 920. I’ll do my best to blog about the delights and downfalls.

I ordered an unlocked, contract-free version. If I end up hating it after a year, I’ll be contract-free, and I’ll get the next iPhone, and I’ll move to Sprint for their unlimited data. Wish me luck!

How I Ordered 11 HP TouchPads and Received ZERO…

Well, this is annoying. Last Friday, HP not only announced that they were killing off the TouchPad, but they also announced that they would be selling these things for only $99 a pop. People were going crazy trying to grab these, and I was part of the craze. I was able to place an order at MicroCenter, and I decided to order two 32GB models for $149.99 (plus tax, shipping, etc).

The site was slow, but I eventually got my order placed. That was on Friday. Then right before I went to bed on Sunday night, I got an e-mail from a friend that Barnes & Noble had put TouchPads on their site to order. Despite having already ordered a couple with Micro Center, I figured it wouldn’t hurt to try with B&N. I successfully placed an order for two TouchPads! I decided to try and order five more, these just for eBay, with another e-mail account address. Order successfully placed! Now I was up to NINE TouchPads on the way!

Barnes & Noble HP TouchPad Order Confirmation

I figured that I probably wouldn’t get all of the TouchPads. I was pretty certain B&N wouldn’t ship me five TouchPads, but I placed the order, and it went through, so I figured I’d wait and see. The next morning when I woke up, I saw that someone posted that CDW had just dropped the price as well! This site was the most broken i had encountered yet. I would get ASP DB errors all the time, and the error messages were pretty much constant. Huge pain in the neck. FINALLY, I was able to place an order. Once again, I ordered two 16GB HP TouchPads.

CDW HP TouchPad Order Confirmation

I got through! That would put my total number of HP TouchPads ordered at ELEVEN!!!!!! Honestly, I figured that perhaps the sites took a few too many orders, but since I ordered a total of eleven, from different vendors, I figured I would get at least one!

And then the rejection letters started coming in… Barnes & Noble was first.

Barnes & Noble HP TouchPad Rejection

And then after B&N came CDW…

CDW HP TouchPad Rejection Letter

Micro Center was the first place I ordered a TouchPad from, and because I had not heard from them yet, I thought there was hope! I went online to check my order status. I couldn’t find an order status checker so I used their “live chat” feature. “Michelle” informed me that they canceled my order. That sucked.

Micro Center HP TouchPad Rejection Chat

I’m REALLY annoyed. I ordered freaking eleven of these things… from three different retailers, and I had a batting average of ZERO. Ugh. Maybe I should make a T-Shirt: “I ordered 11 HP TouchPads and all I got was this lousy blog post!”