I’m constantly figuring out how to best optimize my workspace. Most recently, I purchased a Heckler Design OneLessDesk. While I love the desk, it provided me with some challenges. the primary challenge was that I no longer had anywhere to put my MacBook. On the Heckler Design website, they show users putting their MacBooks on on the lower portion of the desk, but I really prefer having a dedicated keyboard and mouse/trackpad. I decided to buy a laptuk to put my 27″ Cinema Display on top. However, I didn’t like how the Laptuk raised my monitor up an extra few inches. It made the viewing angle uncomfortable. I continued my search for a good way to dock my MacBook Pro.
Then I stumbled on Henge Docks. Henge Docks is a company that makes a vertically oriented line of docking stations for Apple’s MacBook Pro line of computers. They looked classy on the website, and I decided to order one to see if it would be a good way to fit my laptop on my OneLessDesk.
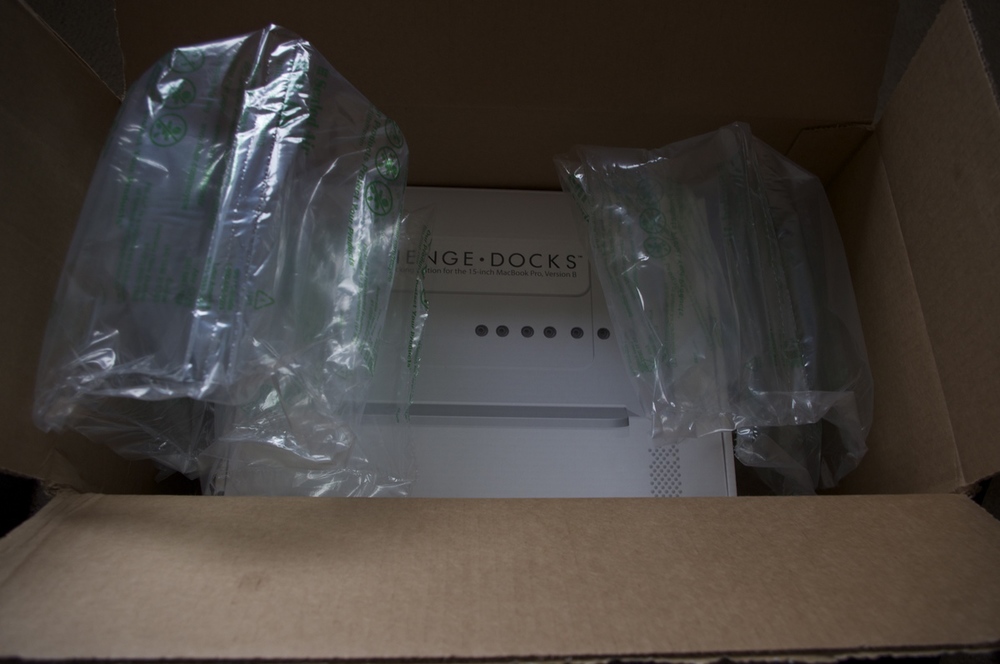
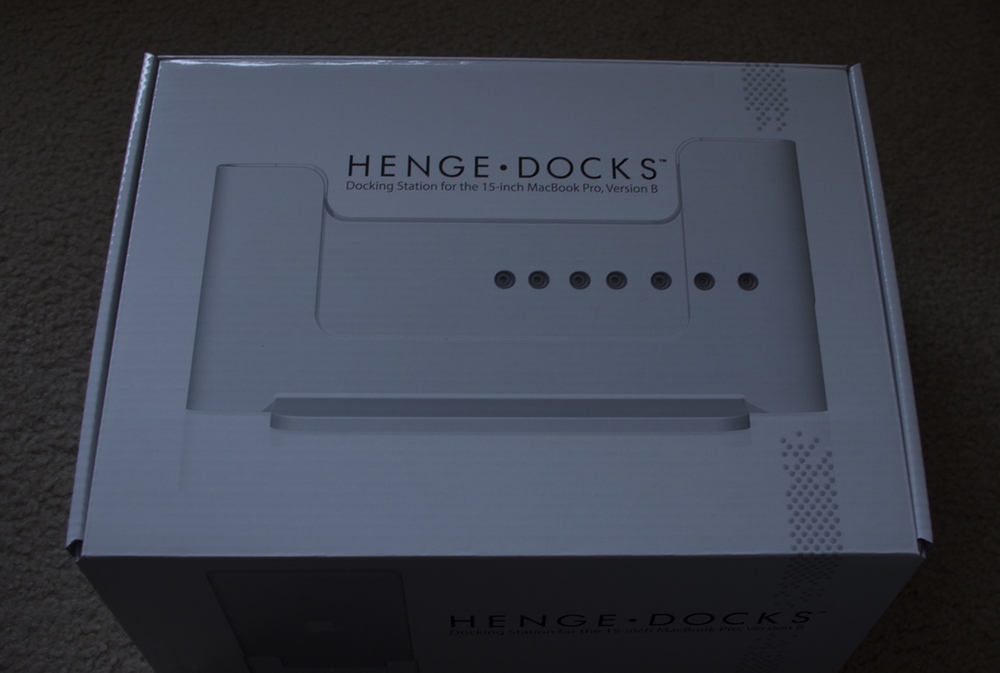
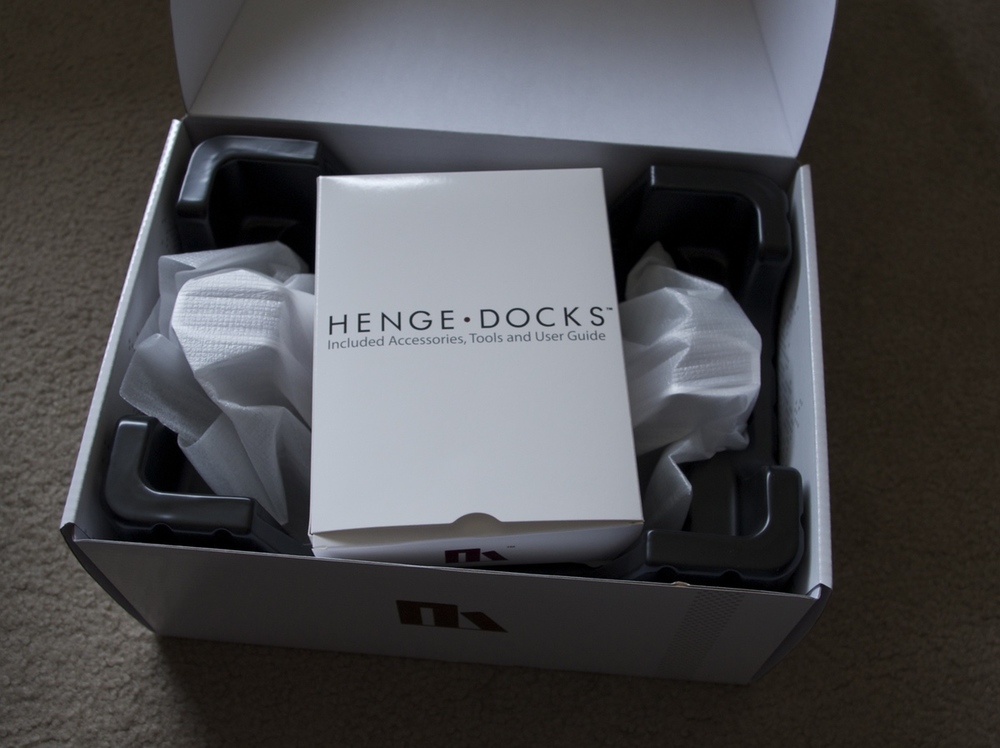
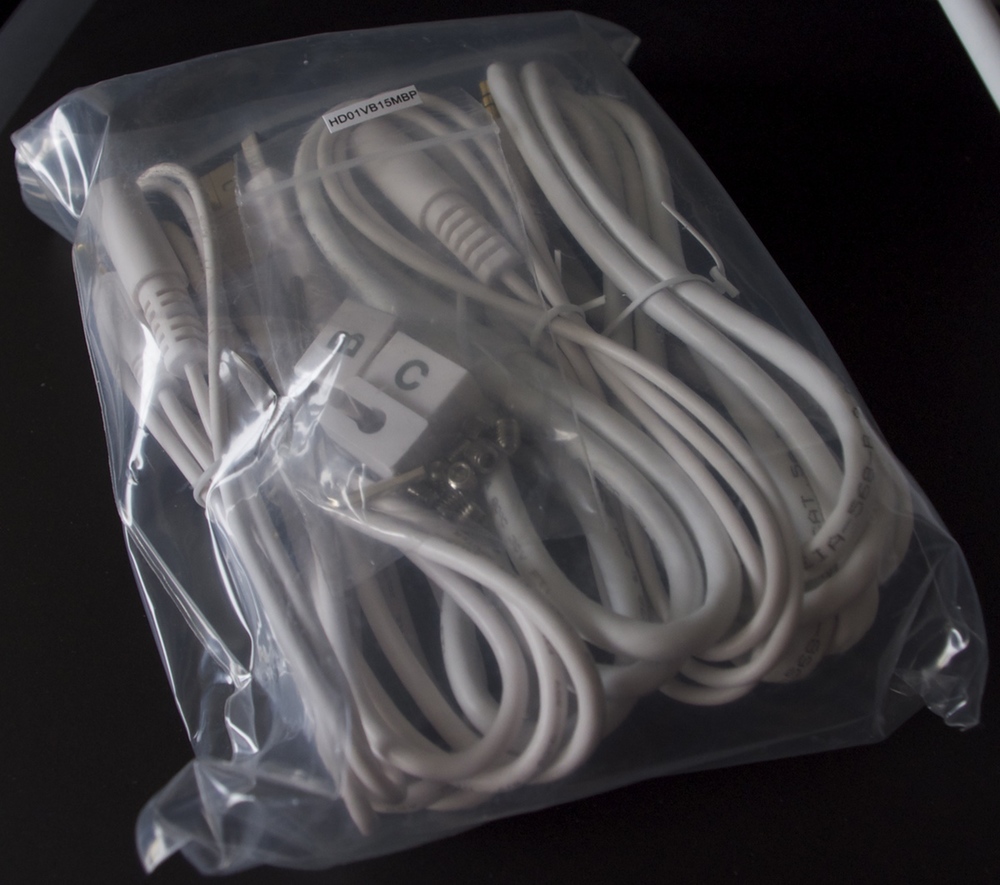
When the henge dock arrived, it came nicely packaged. Opening the primary box reveals a carefully wrapped henge dock and box full of parts and cables. I was really interested in how the installation would go, as I had read many reports about how difficult the henge dock was to set up.
The henge dock feels very sturdy in your hands. It’s made of a hard, shiny plastic, but it has a rubber padded base to keep it from sliding around. Even without a computer in the dock, it felt sturdy and heavy. Adding a computer only helped to add to its sturdiness.
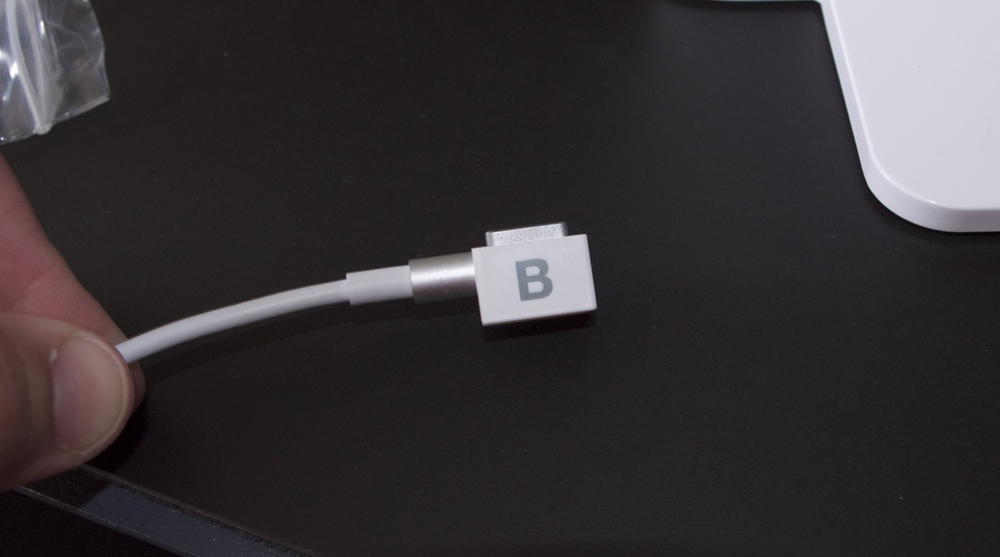
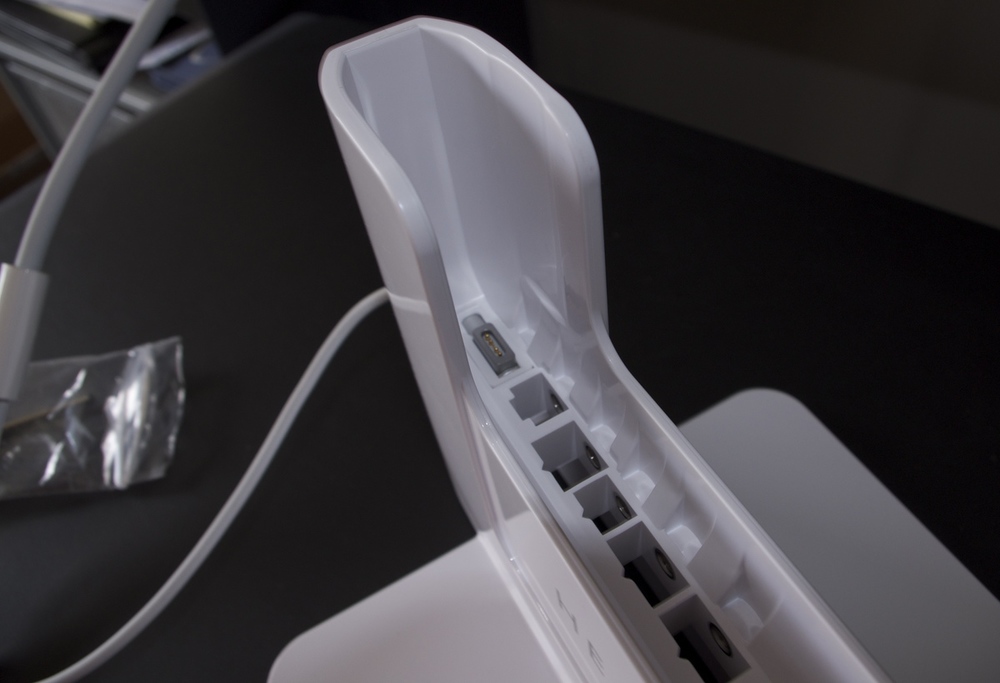
Apple does not license their MagSafe connector, and thus, Henge Docks cannot just create an adaptor. Instead, you attach the MagSafe connector to a clip, and this clip inserts into the back of the dock. You then use a screw to fasten the MagSafe connector into place.
I actually found it to be a pretty ingenious system. The company includes the needed hex screwdriver as well, which is a nice touch. The nice thing about this clip is that as you insert it into the henge dock, it hits resistance once it is fully inserted, and you know you can begin screwing it in to fasten it. Unfortunately, they do not provide this same luxury with USB cables. While USB extension cables are included, the cables can be pushed too far into the dock, if you’re not careful.
In any case, I never had an issue with it. I just lined the cables up as best as I could, and once I felt they were properly lined up, I screwed them in. However, you do need to be careful on this step. If you don’t properly line up the cable, that means that when you insert your MacBook, the connectors won’t line up, and you’ll get issues where certain cables won’t be attached, and you’ll end up pulling your hair out trying to figure out what went wrong. This is the second generation henge dock, and if I were giving feedback about a third generation model, I would say that they should develop custom adaptor cables that lock into place, guaranteeing that you line the cable up just right.
On the note of cables, they don’t all need to be so long. As I’m using the Cinema Display USB cable, it only needs to be about an inch or two longer to reach the proper slot in the henge dock. The provided cable is coiled over multiple times inside the small area under the ports inside the dock. At least they provide a lot of cables…
Another bummer of the henge dock is that you can’t easily access your SD card slot when the computer is docked. Funnily enough, I was taking pictures for this blog post when I realized that I had no way to insert my SD card into my laptop. Luckily, I had a MacBook Air nearby. I loaded the pics onto the MacBook Air and then transferred them with AirDrop. This won’t be an issue for me very often. I can live with having to pull the MacBook out to transfer photos from time to time.
In any case, I only had 3 cables to fasten to the dock: USB, mini displayport, and MagSafe, all from the same Cinema Display cable. I plugged everything in, and I stuck my MacBook Pro into the dock, curious to see if the screen would turn. It did! No problems… I checked to see if it was charging, as I wanted to verify that my MagSafe cable was properly lined up. Indeed it was charging just fine. My phone is plugged in via USB to the back of my Cinema Display, and I saw that it began syncing. Therefore, my USB was aligned properly too.
Got it working on the first try!
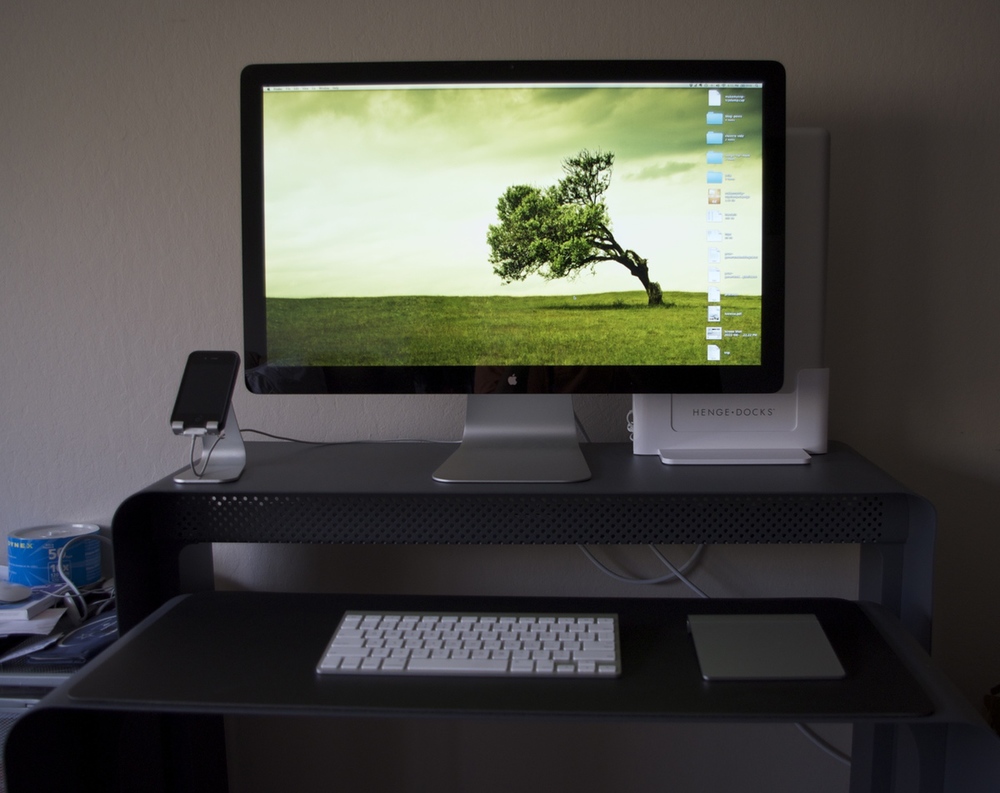
The henge dock slid nicely behind my Cinema Display, and I was finally able to have a clean desktop, without my monitor being raised a few inches. Just when I thought I was 100% satisfied with the product, I noticed one last thing I disliked. “Henge Docks” is printed in a large font right across the side. When I look at my desk from afar, my monitor does not say “Apple Cinema Display.” My laptop does not say, “This is a laptop.” My lamp doesn’t say, “Lamp.” I really wish the guys at Henge Docks would have not printed their name on the side of the product, especially in such a large way. It really makes it look a bit uglier than if it were just white on the side. I wouldn’t even mind a small logo. Speaking of white, it would be nice to see them offer this product in multiple colors.
All in all, I like the henge dock. It is an improvement to the solution I had with the laptuk. My desk looks much cleaner now. It’s a solid product. If you need a docking station for your MacBook Pro, this is the best solution out there. If I had to give a few pieces of feedback to the company for the next revision, I would say the following:
- Instead of printing your company name in large letters on the side, just put a small subtle logo.
- Offer the dock in a variety of colors.
- Bundle custom cables that are shorter and lock into place in the dock, similar to how the MagSafe clip locks into place.
It works like a charm, though, and I’ll be keeping this around for a while!


I love mine. It has saved me countless hours of plugging and unplugging cables. At first I was rather concerned about the durability of the arrangement but now I have had mine for 6 months, and bar having to rescrew the displayport connector in once it has worked perfectly every single day. Its fantastic – drop my macbook in when I get home and my monitor, firewiredrive, external usb hub, ethernet, audio and power are there instantly ! When I am ready to go to work, I put the macbook to sleep and pull it out of the dock – no cables to unplug.
The name on the side has never bothered me, but that probably because mine sits longways one. It looks really nice and compliments the macbook aesthetic in my view.
Do remember that the power cable is held in place and not quickly removable. If you need to use your macbook's power supply elsewhere, you will need to get a second power supply.
I agree that a mechanism to hold the cable in place like is done with the macsafe connector would probably be nice than the stub screws
Thanks for the review!
Thanks for the review, I just ordered my OneLessDesk. I agree with you about the company name, I also don't care for the holes in the side. I feel it would have looked nicer if the holes went all the way around/across even though they wouldn't be functional.
After trying to find a solution myself, I came up with this: https://www.facebook.com/BookHook
We are just getting started but I would LOVE to hear your thoughts. Thanks
I was going to mention this as option http://twelvesouth.com/products/backpack/ when I saw your older Blog post about Onedesk.
That is setup my girlfriend likes, getting her Macbook Air, Thunderbolt Display, and OneLessDesk next year, one piece at a time.
promo!!! buy 2 get 1 free Apple iPhone 6+ 128GB , Samsung Galaxy Note 4
salesdesk23@gmail.com
http://www.universaltelecominc.com
bbm pin: 33357D70
skype: salesdesk23